Home »
AutoCAD
AutoCAD 2022 – Line Command
Learn about the Line Command in AutoCAD 2022, how to use it?
By Akash Periyasamy Last updated : April 01, 2023
What is Line Command?
Line command is one of the most used commands in AutoCAD because all features are started initially by constructing lines. It is drawn between two points namely starting point and the ending point. A line can be drawn at any angle in the drawing workspace with the help of the two modes of drawing lines. Each mode has its advantages and disadvantages over the other. But the users mostly prefer the method that suits them the best. So, there is no one universal method adopted by all users of AutoCAD.

The two methodologies of drawing a line in the design workspace is explained for better understanding below:
1) Line using Coordinates
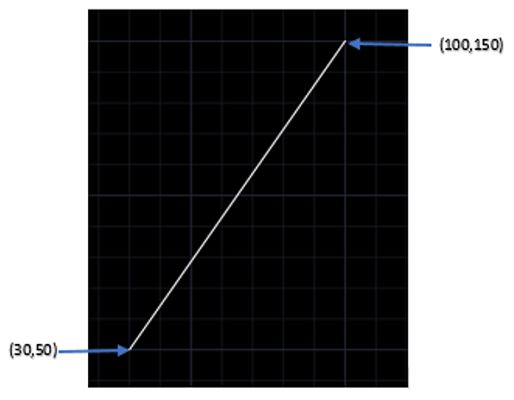
Whenever the user is aware of the coordinates of the two points then this method can be used. In this method, an absolute coordinate system is used with origin as its initial position. The steps to be followed to draw a line with starting point (30,50) and ending point (100,150) is explained as follows:
- Enter the design workspace.
-
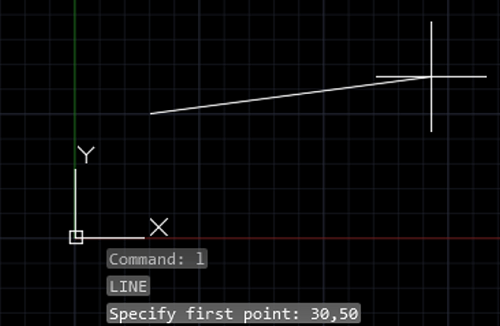
Click on the line icon or enter "L" on the command line to enable Line command.

-
Enter the coordinates of the first point i.e., (30,50) which means X coordinate is 30 and Y Coordinate is 50.

-
Now, we need to specify the second point as (100,150).

-
Thus, the required line is drawn in the design workspace.

2) Line using Relative Coordinate
In this method, each successive point is defined with the previous point as its origin. @ symbol used in AutoCAD to enable a relative coordinate system. The steps to be followed to draw a line with starting point (30,50) and ending point (100,150) is explained as follows:
- Enter the design workspace.
-
Click on the line icon or enter "L" on the command line to enable Line command.

-
Enter the coordinates of the first point i.e., (30,50) which means X coordinate is 30 and Y coordinate is 50.

-
Now, we need to enter the coordinates of the second point with the first point as its origin. So, we need to enter @70,100.

-
As a result, the required line will be drawn in the design workspace.

Apart from these two methods, the user mostly prefers to use random coordinates in the design workspace for most of his drawings because it reduces the need to be precise with the coordinates rather, he provides the dimension of the line to make his design as per the requirement.
Advertisement
Advertisement