Home »
Angular JS
How to install and use JSON-Server in your Angular application?
By IncludeHelp Last updated : September 4, 2024
What is JSON?
The JSON stands for "JavaScript Object Notation". It is a data interchange format that is easy for humans to read and write data and for machines to parse and generate.
Following is the data format of the JSON file:
{
   "Name": "xyd",
   "Age"; 20,
   "City": "abc"
}
It is used to transmit data between a server and a web application as text.
The following are the key points of the JSON –
- The Data must be in the form of a key-value pair.
- The keys must be a string and enclosed within the double quotes "keys".
- The values can be number, string, array, boolean, object, or null.
What is JSON-Server?
A JSON-Server is a tool that allows developers to quickly create a mock REST API using the JSON file as the database. It is useful to display, testing, or develop a front-end application with the need for a full backend.
Following are the key features of the JSON-Server that a developer should remember while working with the JSON-Server:
- You can start a REST API server in minutes by simply providing a JSON file that defines your data and treats it as a database for your angular application.
- It supports all standard RESTful operations, including Create, Read, Update, and Delete, which is usually called a CRUD application.
- You can define custom routes and modify the default behavior of the server to fill the application requirements.
How to Install and Use JSON-Server in Angular Application?
Following are the steps to install the JSON-Server in your Angular application quickly:
Step 1: Install JSON-Server by NPM (Node Package Manager) using the following command:
npm install -g json-server
Step 2: Create a JSON file (e.g., db.json) within the assets folder that will act as your database. For example:
{
   "users": [{
   "id": 1,
   "name": "Mohan Verma",
   "age": 20,
   "city": "Hyderabad",
   "email": "[email protected]",
   "gender": "male"
   }],
   "feedback": [{
       "id": 1,
       "message": "Nice",
       "rating": 4
   }]
}
Step 3: Go to the assets folder using the following commands:
cd application_name -> cd src -> cd assets
Step 4: Start the JSON-Server by running the following command:
npx json-server - -watch db.json
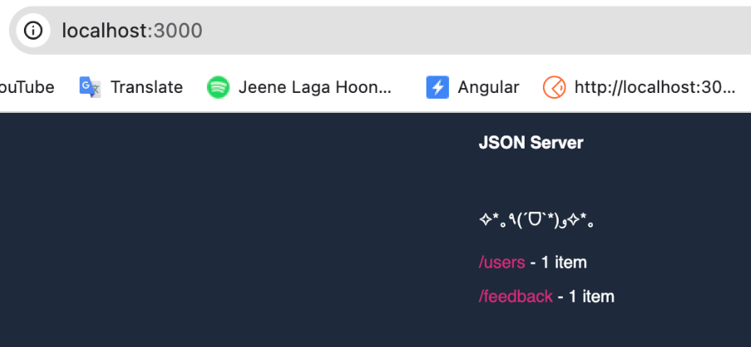
Step 5: Access the API, By default, the server will run on http://localhost:3000, and you can perform RESTful operations on the data.
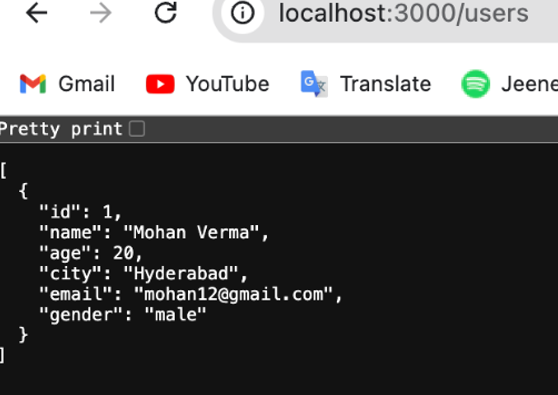
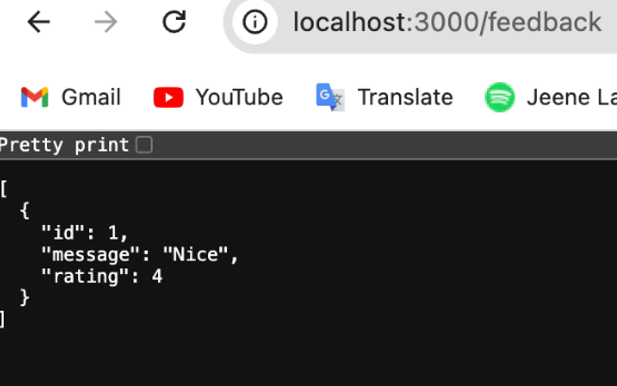
Following the output after running the above URL in the browser:
http://localhost:3000/

http://localhost:3000/users

http://localhost:3000/feedback

Now your Angular application is ready to perform the following operations, and the db.json file provides a mock database:
- GET /posts – Retrieves the list of posts.
- POST /posts – Creates a new post.
- GET /posts/1 – Retrieves a specific post by ID.
- PUT /posts/1 – Updates a specific post by ID.
- DELETE /posts/1 – Deletes a specific post by ID.
Conclusion
In conclusion part, overall, JSON-server is a powerful tool for front-end developers to simulate and work with API endpoints without needing a fully functional backend.
Advertisement
Advertisement